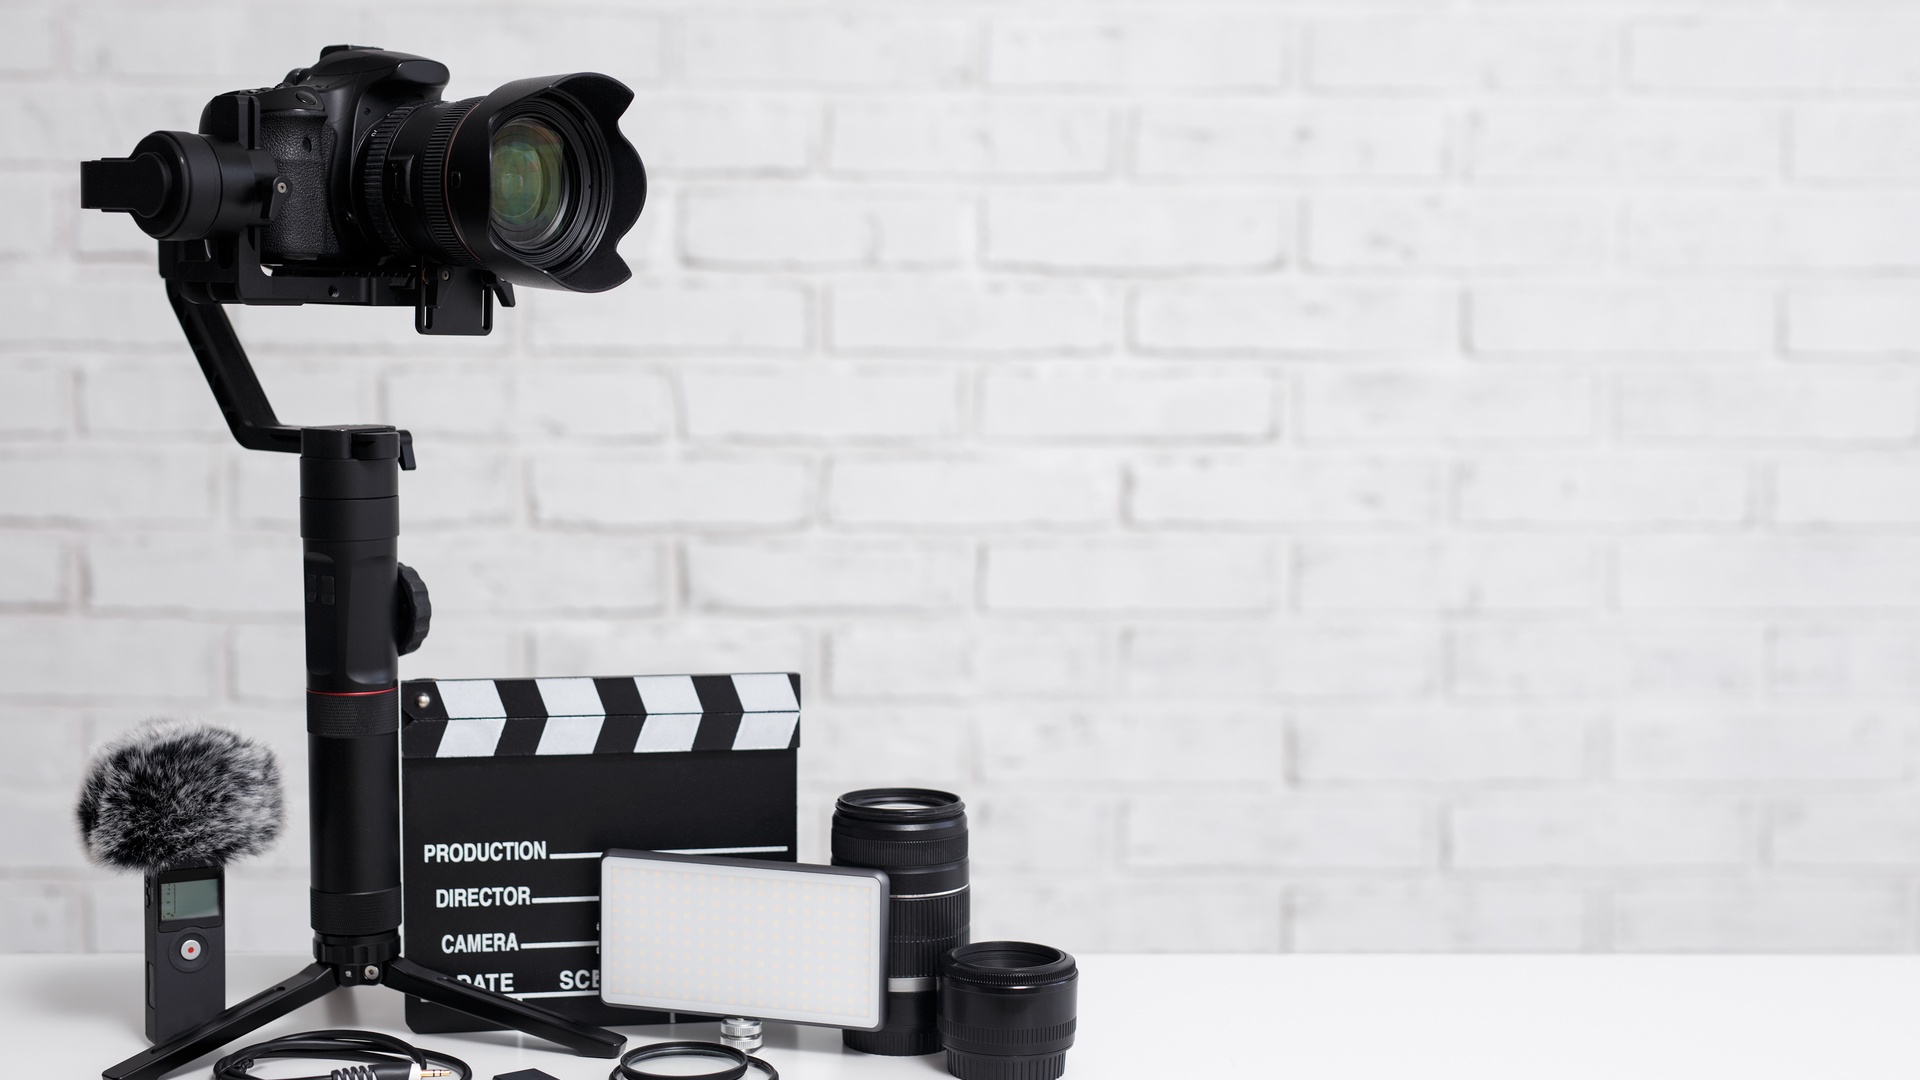
When camera gear goes beyond the camera body and lens, the setup can be complex. Monitors, microphones and small lights compete over limited mounting space. Standard brackets solve many common setups, but unusual angles and compact rigs expose gaps in the hardware.
Creating 3D-printed camera mounts is a custom way to establish a functional, sturdy setup. Find out more about which materials, types of prints, and fastening methods will make 3D-printed camera mounts useful.
Custom Geometry Solves Awkward Setups
Commercial camera accessories target common bodies and standard rig layouts. Problems appear once a creator adds an unusual microphone position or wants a monitor tucked close to the camera. A printed mount lets the designer control dimensions around the exact equipment in use, suiting niche arrangements.
Custom geometry improves cable routing and access. A designer could leave space around a battery door or shift an accessory away from a control dial. Since poor placement has the power to turn a simple battery swap into partial disassembly, those small choices are important to address in order to enhance usability. The goal of the print is to solve a particular inconvenience.
Fit Determines Everyday Usability
The contact points have to line up for a camera mount to work properly. Slight errors around screw holes or clamping surfaces cause wobbling during movement. Careful measurement deserves attention because printed plastic won’t compensate for a poor digital model. A mount that shifts even a fraction of a millimeter at the interface changes how the entire rig behaves once weight enters the system.
Everyday usability depends on how accurately the mount matches standard camera hardware dimensions. A typical 1/4-20 tripod screw interface demands precise hole alignment and enough thread engagement depth to prevent stripping under load. Clamp-based designs rely on consistent jaw spacing so the mount grips rails or cages without uneven pressure. Even a deviation of 0.3 mm in these areas produces uneven contact, causing micro-movement during panning or handheld operation.
Designers also have to account for clearance around adjacent components on the camera body. A mount that resides too close to a battery door, HDMI port, or control dial forces awkward repositioning. Proper spacing between the mount base and the camera surface prevents interference.
Rigidity Affects Camera Stability
Rigid mounts prevent accessories from drooping under load, especially when a monitor or microphone extends away from the camera body. Even a few millimeters of deflection at the mount point can shift framing or push a microphone out of its intended pickup zone. That movement becomes extremely noticeable during handheld shooting, where small shifts compound with natural operator motion. A well-designed mount resists bending at the joint and maintains secure accessories.
Different shooting conditions demand varying mount stiffness levels. Designers who adjust the mount’s structure instead of chasing maximum rigidity will have more effective gear. Action cameras mounted on bikes or drones often benefit from controlled flex or isolation features that absorb high-frequency vibration from motors and terrain. A completely stiff bracket transfers those vibrations directly into the footage, which produces rolling distortion. By contrast, studio rigs prioritize rigidity because stable framing matters more than vibration damping in controlled environments.
PETG
Polyethylene terephthalate glycol (PETG) steps in when a design needs strong mechanical performance. It withstands impacts and high temperatures, making it suitable for holders, clamps, and general camera rig components. This balance between strength and ease of use makes PETG a common choice for functional mounts that endure consistent use.
TPU
Thermoplastic polyurethane (TPU) introduces flexibility into camera mount design, altering how a rig behaves under motion. Instead of transferring vibration directly into the camera system, TPU filaments absorb movement and soften sudden shifts. Designers commonly use it in protective interfaces or isolation points. Some builds combine TPU pads with rigid structures to separate support from shock absorption.
Carbon-Filled Composites
The enhanced strength of carbon fiber filaments serves designs that demand dimensional stability and ample stiffness. These materials combine a polymer base with short carbon fibers that increase rigidity, reduce flex, and improve resistance to deformation under load. The added fibers also decrease the output’s overall weight compared to standard reinforced plastics. This material is suitable for camera mounts that must hold alignment during movement.
Hardware Improves High-Stress Connections
Printed threads work in low-load setups, but repeated assembly quickly wears the plastic surfaces. Camera rigs often get reconfigured between shoots, so mounts experience constant tightening and loosening. Metal inserts or captive nuts solve this issue by creating a stable interface that accepts screws without degrading over time. This approach keeps the connection consistent even after frequent adjustments.
Designers strengthen these connections by planning how force travels through the printed body. A screw concentrates pressure in a small area, so thin walls around an insert can crack under stress. Reinforced bosses and wide contact zones distribute that force more evenly across the structure. When the design accounts for both the fastener and the surrounding plastic, the mount maintains its strength.
Print Orientation Shapes Durability
Layer direction plays a direct role in how a fused-filament camera mount withstands stress. When a mount carries weight across layer lines, those layers separate more easily under repeated movement or sudden force. Even a visually solid print can fail at the weakest bonding points if the load runs against the layer structure. Designers improve strength by rotating the model, so the main force follows the direction of the printed layers instead of cutting across them.
That adjustment in orientation also alters how the mount behaves during real-world use, especially when it supports accessories like monitors or microphones that shift slightly during operation. A well-oriented print distributes stress more evenly, decreasing the chance of cracking near screw points or arms that extend away from the base. Planning orientation early in the design stage prevents weak points from forming in areas that carry the most load.
Traditional Mounts Retain Clear Advantages
Commercial metal hardware remains the sensible choice under many demanding loads. Large lenses, heavy cinema accessories, and overhead mounting introduce consequences beyond convenience. A failed part could damage equipment or injure someone nearby. Those situations call for hardware with known load ratings and appropriate safety provisions.
Environmental exposure narrows the safe use of some printed components. Heat, sunlight and repeated impact affect materials differently. A desk-tested mount could perform poorly inside a hot vehicle or on a high-vibration platform. Evaluating the environment prevents a clever print from becoming the weakest part of the rig.
Why Choose 3D-Printed Mounts?
The appeal of 3D-printed camera mounts comes from control over shape and function. They aren’t automatic replacements for machined camera gear, but they excel at solving unusual fit problems and testing new rig ideas. 3D printing provides a useful middle ground between improvised brackets and costly custom fabrication across personalized camera rigs.